
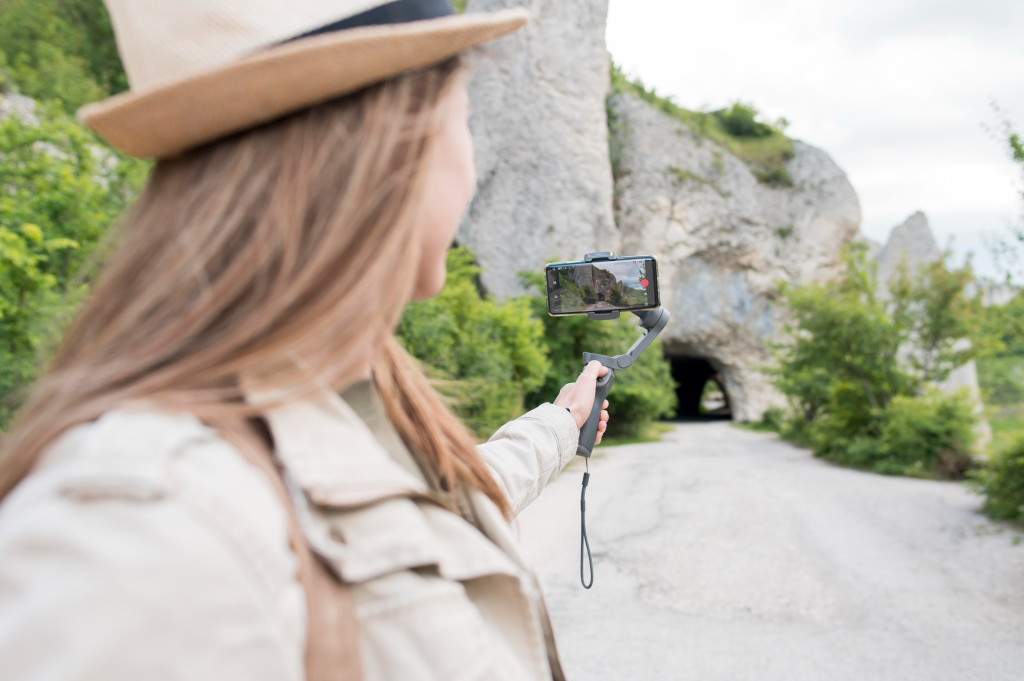
A great travel video isn’t about where you film, but how you tell the story. Capturing a sunset takes no real skill. Turning random footage into something people won’t skip — that’s the skill.
Besides getting cool footage, most creators have another pressing issue. Editing on the road isn’t glamorous. It’s laptops on café tables, exporting videos in airports, and fixing audio while someone snores in a hostel bunk above you. But once you figure it out, making a travel video becomes addictive.
You don’t need a production studio. You need a system that works anywhere.
This is your no-nonsense guide to how to make a travel video while traveling — without losing your sanity.
Step 1: Choose the gear that won’t betray you
Your editing setup can either support your creativity or completely destroy it. There’s no middle ground.
First rule: choose a laptop that won’t freeze the moment you import footage. Travel editing demands portability, but performance still matters. With today’s laptop options, finding a machine that’s great for travel and editing isn’t hard anymore.
Minimum survival specs:
- At least 16GB RAM;
- SSD storage;
- A modern multi-core processor;
- Lightweight design.
Anything less, and editing turns into punishment instead of storytelling. Storage mistakes are even worse. Never trust a single drive while traveling. Carry an external SSD like it’s part of your passport. One crash shouldn’t erase three countries’ worth of memories. Because eventually, something will crash. That’s just travel editing reality.
Step 2: Organize before you regret it
Messy files destroy creativity. Period. Editing gets harder, slower, and more frustrating when you don’t organize video footage. Real travel videography starts with discipline, not inspiration.
Keep the system simple. Start by creating folders for each location and date. Separate drone shots, camera footage, and phone videos right away. Rename key clips immediately. Audio and background music should always live in a separate folder.
Instead of digging through files, your travel video editor becomes a creative playground. Organization isn’t boring — it’s how pros work.
Step 3: Use editing software that doesn’t fight you
You don’t need complicated software to become a great travel video maker. You need software that behaves. If your camera records MKV files, using the best MKV editor saves you from conversion nonsense and wasted time. When you’re editing in trains, cafés, or hotel rooms, complexity will fail you — simple workflows won’t.
A good travel video editor should perform well on a laptop, export fast, handle different formats, and function offline when needed. Editing should feel fast and controlled — not technical and fragile.

Step 4: Stop making montages — start telling stories
Most travel videos are boring. Why? Because they’re just montages.
A real travel video has structure. It shows a beginning, an experience, and a takeaway. Without that, viewers scroll away in seconds.
Even short videos need direction. Show the place, show the moment, show the feeling. A travel video template can quickly bring order to your timeline when you’re stuck. Templates don’t limit creativity — they prevent chaos. Storytelling is what separates casual filming from real travel videography.
Step 5: Music does half the work
Without background music, even great footage can feel flat. Music controls everything: pacing, emotion, and energy. Music can transform the exact same footage into something epic, calm, funny, or dramatic.
When editing a travel video, sync your cuts with the music’s rhythm. Walking shots, drone reveals, transitions, and action moments all feel better when synced with audio. It’s one of the easiest ways to make a travel video look professional. Download music in advance — travel internet is unreliable at best.
Step 6: Edit like a traveler, not a perfectionist
You’re not editing a documentary for Netflix. You’re capturing moments while still living them.
Use a workflow that keeps things moving:
- Import footage daily;
- Select the best clips immediately;
- Rough-cut the timeline;
- Add music and transitions;
- Finalize later.
That’s it. No overthinking. Editing a little every day keeps projects small, manageable, and actually enjoyable. This is how making a travel video becomes part of traveling — not something you postpone forever.
Step 7: Export smarter
Exporting huge files over a travel Internet is a special kind of frustration. Learning to compress videos properly makes everything easier. Smaller files mean faster uploads, less storage stress, and videos that still look great on a travel blog.
Your audience doesn’t care about bitrate perfection. They care that you post consistently. Done beats perfect every time.
Step 8: Make money with this
You don’t need viral videos to make money from travel content. You just need consistency and patience. Your travel video can generate income through:
- YouTube monetization;
- Brand partnerships;
- Affiliate links;
- Selling digital products;
- Freelance editing work;
- Stock footage sales.
Many creators grow an audience by combining video content with a travel blog. If you already love travel videography, monetization becomes a side effect of consistency — not the goal.
Step 9: Stop over-editing
Beginners love effects. Professionals love restraint. Too many transitions, filters, and visual tricks make videos look dated fast. Strong travel video maker workflows focus on clean cuts, natural colors, and smooth pacing.
Let the places speak. Let the people speak. Let the moments speak. Editing should support the story — not compete with it.
Improvement is inevitable
Your first travel video won’t be great. Good. That means you’re starting. Your fifth will feel easier. Your tenth will feel natural. Your twentieth will look professional. The only real secret to how to make a travel video is repetition.
Keep editing. Keep filming. Keep learning. Over time, travel videography becomes second nature, just like carrying your camera.
Editing on the road gets easier
Editing on the road looks hard — until you build a workflow that works anywhere. Give yourself a reliable travel video editor, organized footage, and realistic expectations — and you can create videos anywhere.
No studio. No perfect conditions. No excuses. Just start making a travel video. One clip at a time.
Once you master editing on the road, everything else feels easy. You’ll stop publishing travel videos months after your trip and start posting them while the journey is still happening. That’s a huge advantage — the time between trips becomes practice time for your editing skills and a playground for new ideas.


